

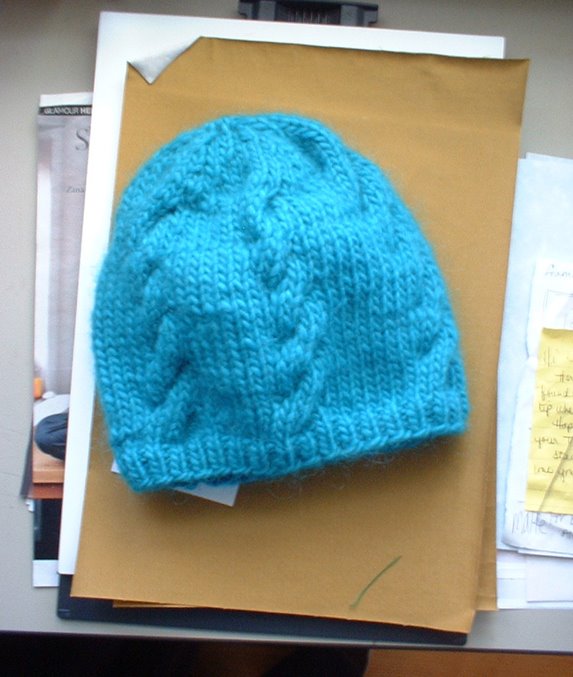
Knit with Lamb’s Pride Bulky – Aztec Turquoise
You need:
Circular needles size 8 (for brim) and size 10 or 10 1/2 for gauge.
Cable needle
Basic knowledge of what to do with needles and yarn.
To do:
Cast on 66 stitches – size 8 needles – join sts and place marker at the “beginning”
Knit 1 x 1 rib in the round for 1”
Switch to size 10 needles and begin stockingette stitch. Increase 1 st every 10 sts --72 sts!
Cable pattern will be as follows: K6 C6 x6 every 5 rows*
On the rows in between cables, knit the stockingette st. You will know every time you pass a marker that you completed a row. I find that sometimes making tallies on a sheet of scrap paper is helpful for keeping track of my rows. Or I just write on whatever is handy.
*also, you don’t HAVE to knit every 5 rows. You might like tighter cables every 3 or 4 rows. or longer cables every 6 or 7 rows. This part will be up to you and can make each hat unique.
For help making cables, view this helpful link. Cables are really easy and fun. They break up the monotony of knitting in the round and make winter hats even warmer and thicker. Experiment with different waves by placing the “on hold” sts in front of and in back of the project. AND if you don’t have a cable needle handy your smaller circular needles can always double in performance hold your sts!
Follow this cabling pattern for 5 – 6” (depending on how big your head is or how much hair you have. Basically, knit until the hat is about 2 1/2” shorter than what you want.
To decrease:
You will continue to cable as normal during this part. You will only decrease the sts in between the cables and you will do it every other row.
Start by Knitting 2 together (K2tog), K4, C/K6. repeat for the entire row – 66 sts.
Next row, Knit, no decrease.
Next, K3, K2tog, C/K6 repeat – 60sts.
Knit, no decrease.
K2tog, K2, C/K6 – 54 sts.
Knit all.
K2tog, K1, C/K6 – 48 sts.
Knit all -- Be ready to change to double pointed needles to hold the decreasing amount of sts!
K2tog C/K6 – 42
Knit all.
K2tog, K2 all around ignoring the cables.
Knit all.
K2tog K1 all around.
K.
K2tog until you have 8 or 9 sts left and thread a needle with matching yarn to tie them together. Place a couple sts on the top to keep it from being pointy and also to close it up and keep out the cold.
You may know or like a better method for decreasing or shaping the crown. This is how I finished my hat and I was completely making it up as I went. I based it on what the patterns say to do for other hats that I have made and liked the fit. This style may not suit you and you are always encouraged to invent and incorporate your own!!
2 comments:
your little pictures are so cute. the hat you made matches perfectly with your jacket!!! im so glad you're posting again!!!
love this hat pattern...thanks so much for sharing! i'll be trying it out very soon : )
Post a Comment